Preserve the peak flavor of fresh plums using this simple water bath canning method that keeps them naturally sweet and delicious all winter long. This traditional preservation technique requires minimal ingredients while ensuring food safety through proper pasteurization. With just plums, a touch of lemon juice, and optional sugar, you’ll have shelf-stable fruit that retains its fresh taste and nutritional value for months.
Ingredients
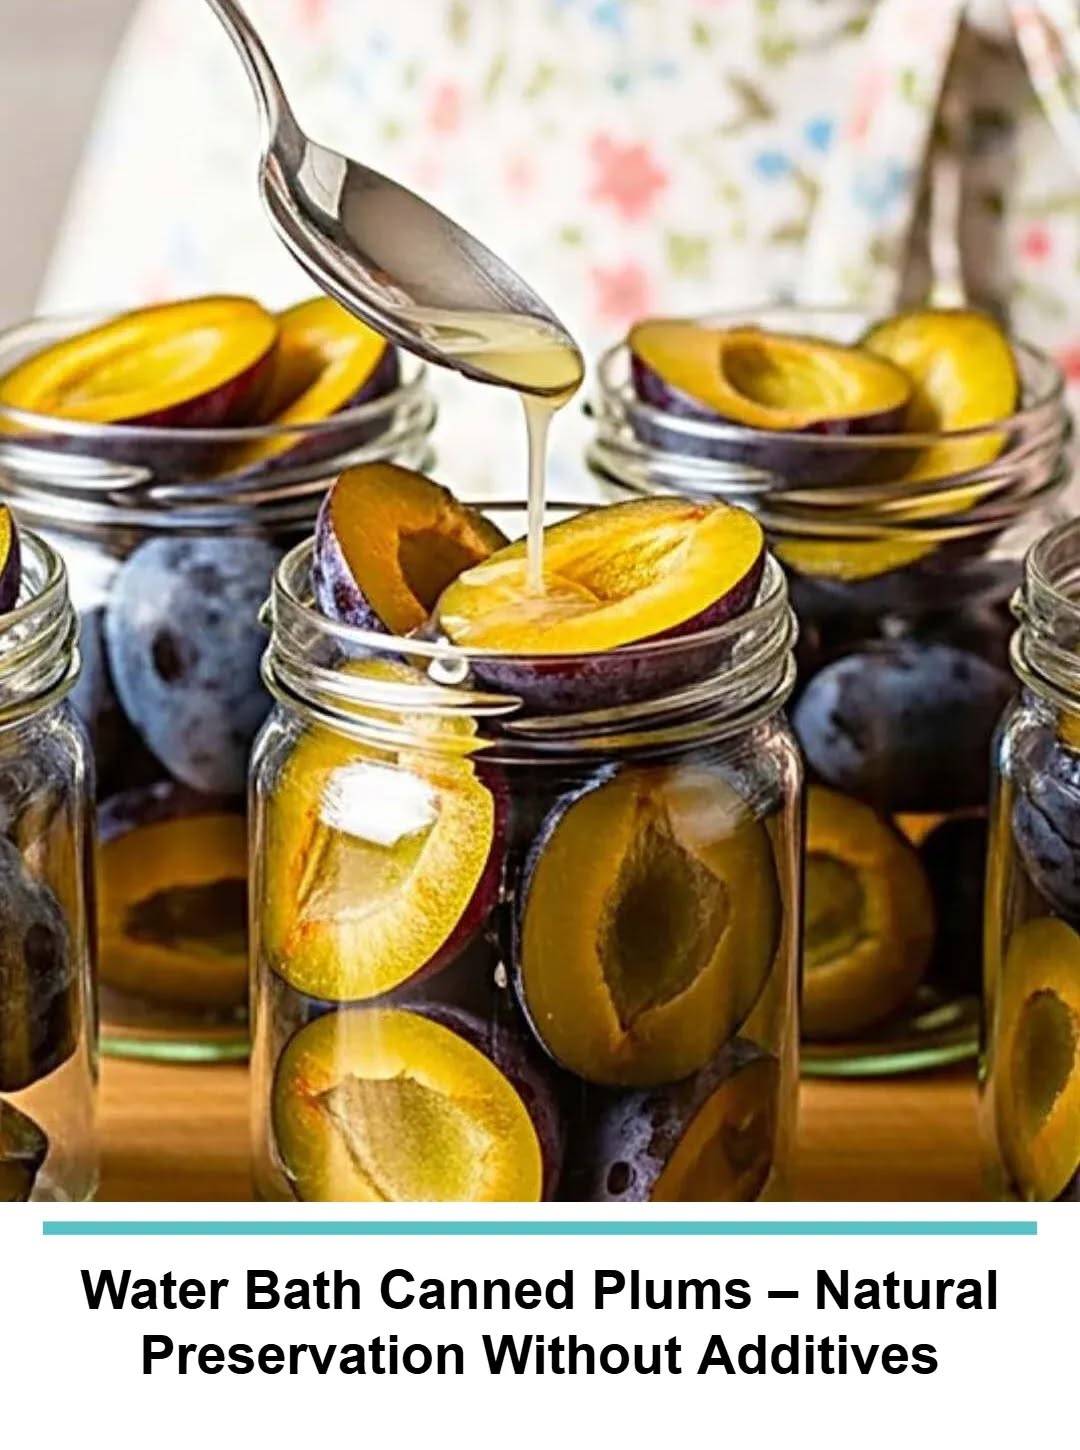
- Fresh plums – 2-3kg / 4-6 lbs (any variety)
- Fresh lemon juice – 1 tbsp per jar
- Granulated sugar – 1 tbsp per jar (optional, for flavor)
- Cold water – as needed to cover plums
Equipment Needed
- Glass canning jars – 6-8 medium jars with new lids
- Large pot – deep enough for water bath
- Clean kitchen towel – for pot bottom
- Ladle – for adding water
Instructions
Step 1: Prepare the Plums
Wash all plums thoroughly under cold running water. Cut each plum in half and remove the pit. Inspect for any damaged areas and discard imperfect fruit to ensure quality preservation.
Step 2: Sterilize Equipment
Wash canning jars and new lids in hot soapy water. Rinse thoroughly and keep warm until ready to use. This prevents thermal shock when adding hot contents later.
Step 3: Pack the Jars
Fill each jar with halved plums, leaving about 1-2cm headspace at the top. Pack firmly but don’t crush the fruit. The plums should fit snugly without being compressed.
Step 4: Add Acidification
Add 1 tablespoon of fresh lemon juice to each jar. This crucial step ensures proper acidity levels that prevent botulism growth. The lemon juice also helps maintain color and adds a pleasant tartness.
Step 5: Optional Sweetening
If desired, add 1 tablespoon of granulated sugar to each jar for enhanced sweetness. This step is optional since the natural fruit sugars and lemon juice provide sufficient preservation properties.
Step 6: Cover with Water
Pour cold water into each jar to completely cover the plums, maintaining the headspace. Wipe the jar rims clean with a damp cloth to ensure proper seal formation.
Step 7: Seal the Jars
Place new lids on each jar and tighten the rings finger-tight. Don’t over-tighten as air needs to escape during processing.
